Written by SOWLE RV
December 4, 2019
How to Replace RV Awning Material
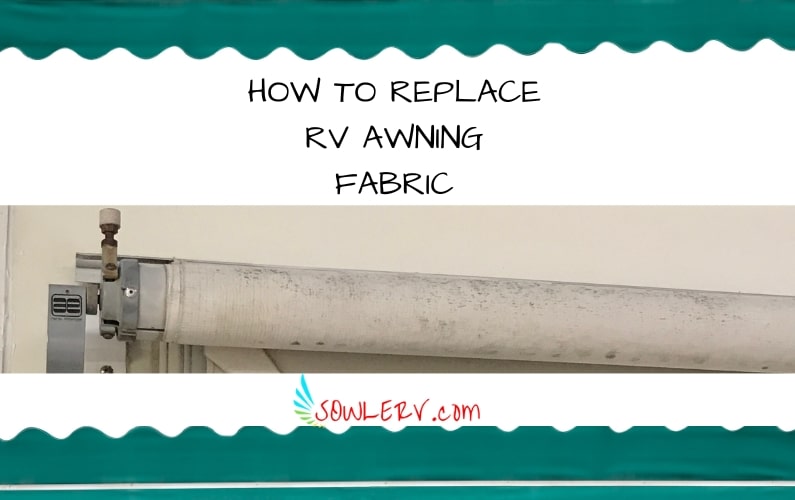
The awning material on our Class C Motorhome, aka the SOWLEMOBILE, was dry and rotten. Therefore, it was an absolute must for us to be Replacing RV Awning Material. We wanted to share wit you how to replace RV Awning Material.
Removing the Old RV Awning Material
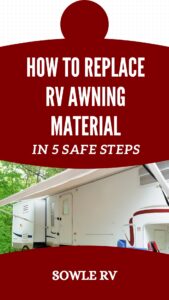
I had to remove the old RV Awning to do the Front Cab Rehab of a Motorhome Project, so I cut the old RV Awning Material off and pitched it. The awing arms were in good shape, so we bought new material. I decided to replace the material myself.
RV Awning Safety
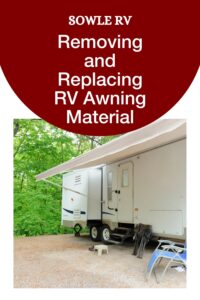
At this point I want to be very serious when I say do not ever adjust maintain or take anything apart on your awning without first understanding that awning are under extreme tension whether they are in the up or down position! If you remove or attempt to remove the arm from the side support on the awning tube you could end up with broke finger, hand or arm. Please take the time to study your specific awning before taking it apart.
With all that being said, no, I have never injured myself changing our awning material. But I did watch my Father-In-Law break two fingers while helping remove a awning from a wind damaged RV. Hence the cautionary advise.
We talk more about what happened to my Father-In-Law with a newer style awning in our article RV Camping Severe Weather Awareness Part 4.
Now that the safety lecture is over, I will get into changing the material again.
Changing the RV Material
In order to remove the material from the upper J rail you will need to take out the screws on each end of the material that pin it in place. Hold on to these as you will reuse them when completing the project.
Next, you will need to get the awning arms disconnected from the RV at the lower base. On my Dometic Awning, it has quick disconnects and I just pulled it off the lower disconnects.
Once I had the awning arms off, we slid the material out of the J Rail while walking the arm and tubes down with it.
Here is Where the Safety Part Comes in Play
Now comes the fun part. The cautionary tales that you keep getting told about. Your awning has two springs in the center tube that are under tension. These springs are designed to hold tension, while being pulled out, with a mechanical gear drive. When that gear drive is released, it allows it to retract back to the RV.
These springs, even while in the storage position, maintain tension. Before removing an awning leg, you need to make sure that you have vice grips in place on the tube rail end or else the tension will unwind causing possible harm.
Once you have released the tension, there will be 3 rivets holding the awning tube cap in place. Drill these rivets out and you will be able to remove the tube rail cap along with torsion spring. Once the cap is removed, the channel that holds the awning material will be exposed and you can slide the material out of the awning at that end.
Installing the New RV Awning Material
Be sure to measure your awning to purchase the correct awning replacement material! We went with the Shade Pro Awning Fabric Replacement Standard Grade Vinyl in Reverse Charcoal Fade color.
The SOWLEMOBILE’s New Awning Material
Your new material will come with one of two sizes for the awning rail. Make sure you have the correct pipe tube installed in the awning material to properly insert it in the tube.
When installing the new material in the tube be careful not to damage the vinyl on the awning tube. I place tape on the edge to keep it from dragging the material and scraping it.
Now that you have the material put back on you can place your cap back on and install 3 new rivets.
Setting the Tension for Your Springs
Next you will need to set the tension for your springs. I looked up replacement instructions for my model number” and it was able to tell me how much pretension to place on the awning. I would strongly suggest doing this as it tells you which direction and torsion for winding the spring. Generally speaking, it is going to be at the very minimum 8 turns up to 12.
Once that’s done, install your awning arms back onto the tube rail end.
Next, wrap the material around the drum like it would be in the storage position. When it is wrapped, spin the drum to where you have enough material overhanging to slide it back into the J Rail.
Installing the Material into the J Rail
Now you should be ready to reinstall the material back into the J Rail. I would suggest putting tape and opening the end of the J rail up with screwdriver to keep the material from snagging while feeding it into place.
You should have at least 2 other people, one to hold the end of the awning and the other to stay in place and help feed the material into the channel or help pull the material through the channel on the roof.
Once you have the material in place, reinstall the 2 screws you took out at the beginning of the project. Attach the lower awning arms back to the RV.
In Conclusion of How to Replace RV Awning Material
Finally, test your awning out. Hopefully this article on How to Replace RV Awning Material and it provides you with cool shade on those hot summer days!
RV Camping: Renovation, Remodel, and Makeover Articles you don’t want to miss on SOWLERV.com!
Renovation, Remodel, and Makeover, OH MY!
How to do an RV Bathroom Renovation and Remodel
How to Do an RV Bedroom Makeover in 7 Easy Steps
How to Do an RV Living Room Makeover in 8 Steps
How to Do an Easy RV Kitchen Makeover
How to Replace RV Awning Material in 5 Safe Steps
How to Remove Ugly Stains from Your RV Fabric Ceiling [with photos]
How to Remove and Replace the Flooring in Your RV Camper Trailer
Front Cab Rehab of a Motorhome
12 Steps to Replace a Destroyed RV Roof [detailed photos included]
Related Articles
RV Living Room Makeover
RV Living Room Makeover The living room is the first thing you see when walking into our new-to-us motor home. The first time I walked into it I wanted to throw away what might have been the ugliest home conversion of a sofa made in all of time. This motorhome didn’t...
RV Bedroom Makeover in 7 Easy Steps
RV Bedroom Makeover in 7 Easy Steps Remodeling our RV Bedroom was one of the easiest parts of the renovation process with our used Motorhome. In comparison to completely Replacing an RV Roof and a complete Front Cab Rehab of a Motorhome, I’m sure you can understand...
RV Kitchen Makeover
RV Kitchen Makeover The kitchen in an RV tends to be one of our favorite areas, probably because that’s where we spend A LOT of our time, LOL! We are not used to having a HUGE kitchen in our Travel Trailer; however, it is MUCH larger than the one we have in our...

